
Your Bag is Empty
- Lift & Lamination
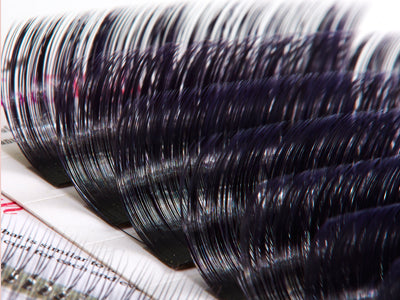
- Eyelashes
- Glue & Remover
- Application Tools
- After Care
- Eyebrows
- Skin Care
- DIY
- More


Lash lifts continue to be one of the most requested services in the beauty industry because they offer clients a polished, natural-looking result without the daily need for a lash curler or the maintenance of extensions. When performed properly, a lash lift can help natural lashes appear longer, more defined, and beautifully curled for weeks.
For professionals, lash lifts are also a smart service to add to your menu. They are efficient, high-value, and ideal for clients who want an easy beauty routine. But consistent, long-lasting results require more than simply applying product and watching the clock.
A beautiful lash lift starts with consultation, clean prep, correct shield selection, precise lash placement, controlled processing, and clear aftercare.
Below are professional lash lift tips to help you create healthier, longer-lasting results your clients will love.
Before beginning any lash lift service, take time to evaluate whether the client is a good candidate. Lash lifting is performed close to the eyes and uses professional chemical solutions, so consultation should never be skipped.
Review the client’s lash history, eye sensitivity, allergies, medications, recent eye procedures, contact lens use, pregnancy or breastfeeding status, and overall lash health. Clients with brittle, broken, sparse, or compromised lashes may not be ready for a lift and may need time to strengthen their natural lashes first.
The GladGirl LashLift manual also recommends using a client consent form and reviewing possible risks before beginning the service. If a client has sensitive eyes or is unsure whether they are allergic to perming products, a patch test may be appropriate.
A careful consultation protects the client, protects the technician, and sets the stage for better results.
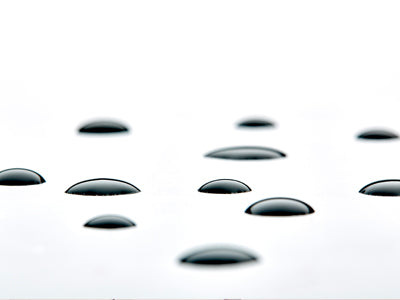
Lash prep is one of the easiest steps to underestimate. Even when a client arrives without visible makeup, oils, skincare, eye cream, sunscreen, or mascara residue can prevent products from working evenly.
Start by cleansing the lashes and eye area with GladGirl Wash & Wink or another oil-free makeup cleanser. Use a lint-free brush, flocking brush, or cotton pad to gently remove buildup. Rinse, pat dry, and make sure the lashes and eye area are completely dry before beginning.
Next, apply under-eye gel patches to cover and protect the lower lashes. This helps prevent the lower lashes from coming into contact with lifting or setting products during the service.
Clean prep gives your lash lift products the best chance to perform evenly from root to tip.
Shield selection has a major impact on the final result. A common mistake is assuming that smaller shields always create better lifts. In reality, the right shield depends on the client’s natural lashes, eyelid shape, and desired finish.
GladGirl’s LashLift manual explains that shield selection is not only about lash length. It also depends on how much curl the client wants. The manual recommends placing the silicone curler as close to the lash line as possible and checking that the lashes reach just over halfway up the curve. If they do, the selected shield is generally a good fit.
As a general guide:
Smaller shields create a more dramatic curl.
Medium shields create a balanced, natural-looking lift.
Larger shields create a softer, more elegant sweep.
For many clients, a soft, natural lift grows out more gracefully than an overly tight curl. When in doubt, choose the shield that supports the healthiest-looking result, not just the most dramatic one.
The final look of a lash lift is largely determined before the perming lotion is ever applied.
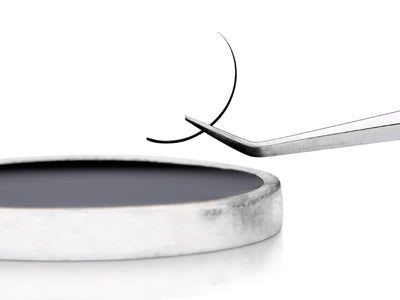
Once the silicone curler is secured to the eyelid, use GladGirl LashLift Lash Glue in small sections. Lift the lashes upward onto the shield using a lifting tool or Y brush, following the natural curve of the silicone curler.
Every lash should be:
Rushed placement can lead to uneven curl, crimping, gaps, or lashes pointing in different directions. Take your time here. Clean placement is one of the clearest signs of a professional lash lift.
Processing time should always be controlled with a timer. The GladGirl LashLift manual specifically reminds professionals not to guess during processing and not to overprocess the lashes. Overprocessing can cause dryness, frizz, excessive curl, or weakened lash structure.
GladGirl’s application guidance gives these timing ranges when using plastic wrap:
The same general timing range is used for both the perming and setting steps.
Remember: more time does not always mean more lift. For clients who want more lift but less curl, the GladGirl manual recommends shortening the processing time. That small adjustment can help create a softer, more flattering result.
After the perming lotion has processed, remove it completely with a dry cotton swab before applying the setting lotion. There should be no visible trace of product left behind.
Then apply the setting lotion with a microbrush or flocking brush. The setting lotion helps lock the lashes into their new lifted shape by stopping the chemical action of the perming lotion. Once the setting time is complete, remove the product thoroughly again.
Clean removal between steps helps prevent overprocessing and supports a more controlled, predictable result.
After the lift and setting steps are complete, apply a light coat of GladGirl Keratin Boost with a mascara wand and brush it through the lashes.
According to the GladGirl LashLift manual, Keratin Boost helps replenish proteins in the lashes, supports a healthy-looking finish, and helps release the lashes from the silicone curler. Use a cotton swab with the keratin to gently separate the lashes from the shield, then remove the silicone curler carefully from the eyelid.
This finishing step helps leave lashes looking smoother, softer, and more conditioned.
Great lash lift results depend on the client’s aftercare. Review the instructions at the end of the appointment and provide an aftercare card when possible.
GladGirl’s LashLift aftercare guidance includes:
Aftercare is not just a formality. It directly affects how long the lift lasts and how healthy the natural lashes remain between services.
Even experienced professionals can run into issues when small details are missed. The most common lash lift mistakes include:
Most lash lift problems can be prevented with better prep, cleaner placement, and more controlled timing.
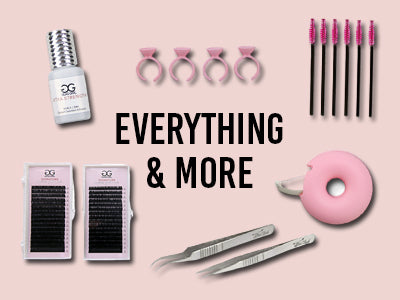
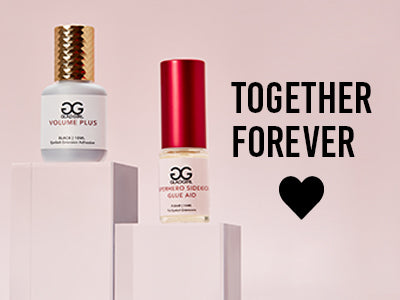
For professional lash lift services, GladGirl recommends working with a complete system designed for clean application and consistent results.
Key products include:
GladGirl LashLift Lash Glue #1
A latex-free adhesive used to secure the silicone curler and hold natural lashes in place during the lift.
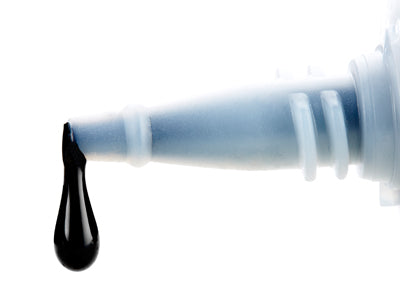
GladGirl LashLift Perming Lotion #2
A professional cream solution that softens the lash structure so lashes can be reshaped over the silicone curler.
GladGirl LashLift Setting Lotion #3
A neutralizing solution that helps lock the lashes into their lifted position.
GladGirl Keratin Boost #4
A conditioning finishing step that helps smooth, nourish, and release lashes from the shield.
GladGirl Silicone Eyelash Perming Curlers
Available in multiple sizes to customize the final curl and lift.
GladGirl Wash & Wink
A lash-safe cleanser ideal for pre-service cleansing and client aftercare.

A beautiful lash lift is not about rushing through the steps. It is about reading the client’s lashes, choosing the right shield, placing every lash with intention, timing the service carefully, and teaching the client how to care for the result at home.
When performed with professional technique and the right products, a GladGirl LashLift can give clients the lifted, natural-looking lashes they love while helping beauty professionals deliver a reliable, high-value service.
For best results, always follow your GladGirl LashLift instructions, observe your state lash lift licensing requirements, and prioritize natural lash health at every appointment.
Lashing out since 1981, GladGirl brings over 40 years experience to the beauty industry. The Eyelash Extensions Blog is our contribution to the advancement of professional skills and industry standards. Here you will find salon business articles, training resources, beauty tips and general health and wellness content.
Comments will be approved before showing up.


