
Your Bag is Empty
- Lift & Lamination
- Eyelashes
- Glue & Remover
- Application Tools
- After Care
- Eyebrows
- Skin Care
- DIY
- More


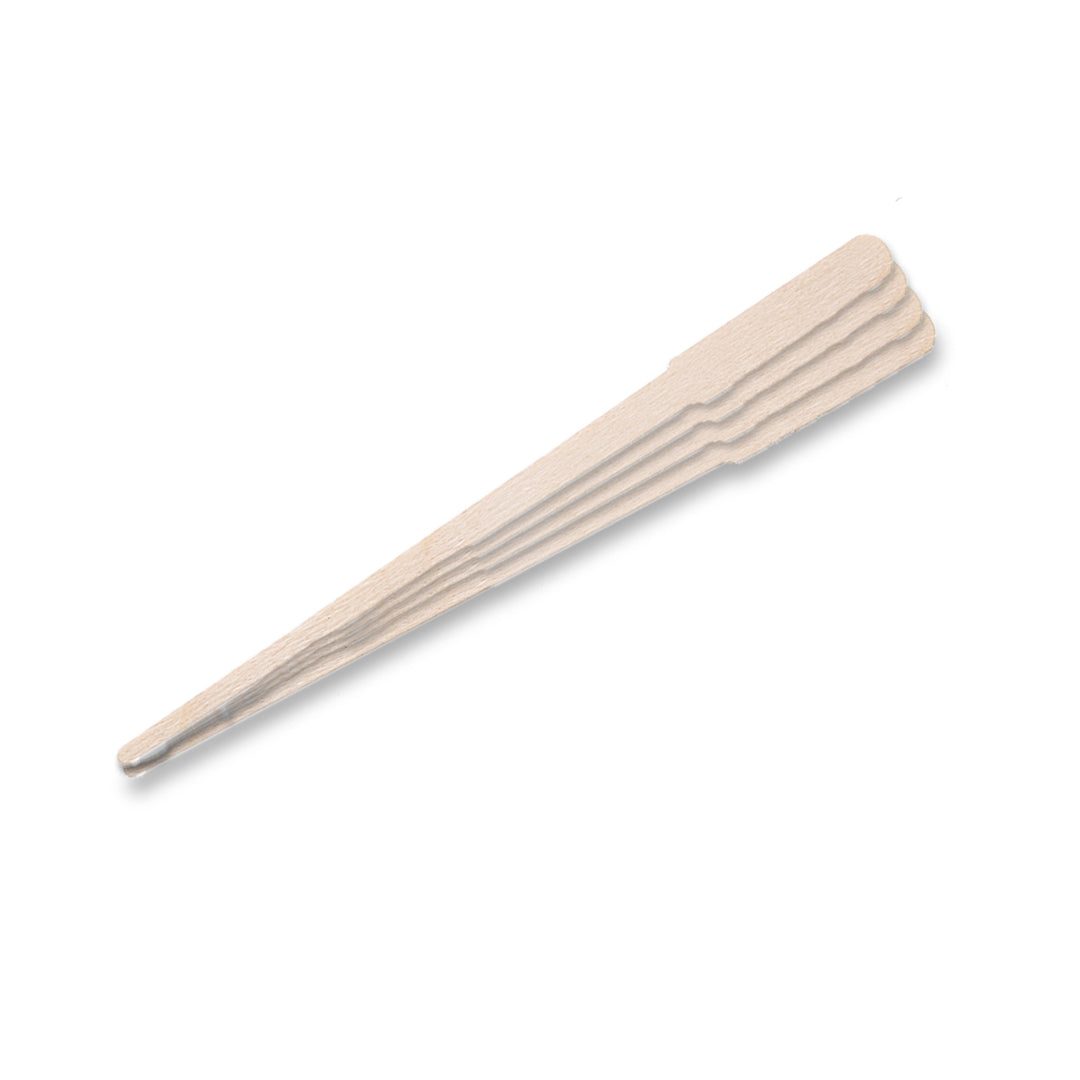
Introducing our Waxing Applicator Sticks, crafted with precision by our dedicated team to bring you the utmost care and comfort during your waxing routine. Designed especially for delicate and small areas, these sticks guarantee a gentle, smooth, and worry-free experience. They are your perfect companions for hard wax applications, ensuring a flawless result every time. The slim, narrow end of this versatile stick adeptly targets intricate areas like the ears, eyes, brows, lips, and even the nose. It's not just an eyebrow wax stick - it's your secret weapon for enhanced facial hygiene for both men and women. Made from durable Birchwood, this applicator stick embodies an ideal fusion of practicality and cleanliness. Perfect for fine facial details these wax sticks serve as your reliable spatula for a seamless waxing experience.
Size: 3.5 inches
**Wax and Depilatory Waxing Paper are not included
Directions for Use:
Warm the wax: Heat the wax according to the manufacturer's instructions until it reaches the desired consistency. It should be warm but not scalding hot to avoid burns. For best results we recommend using GladGirl Silk Smooth Soft Wax.
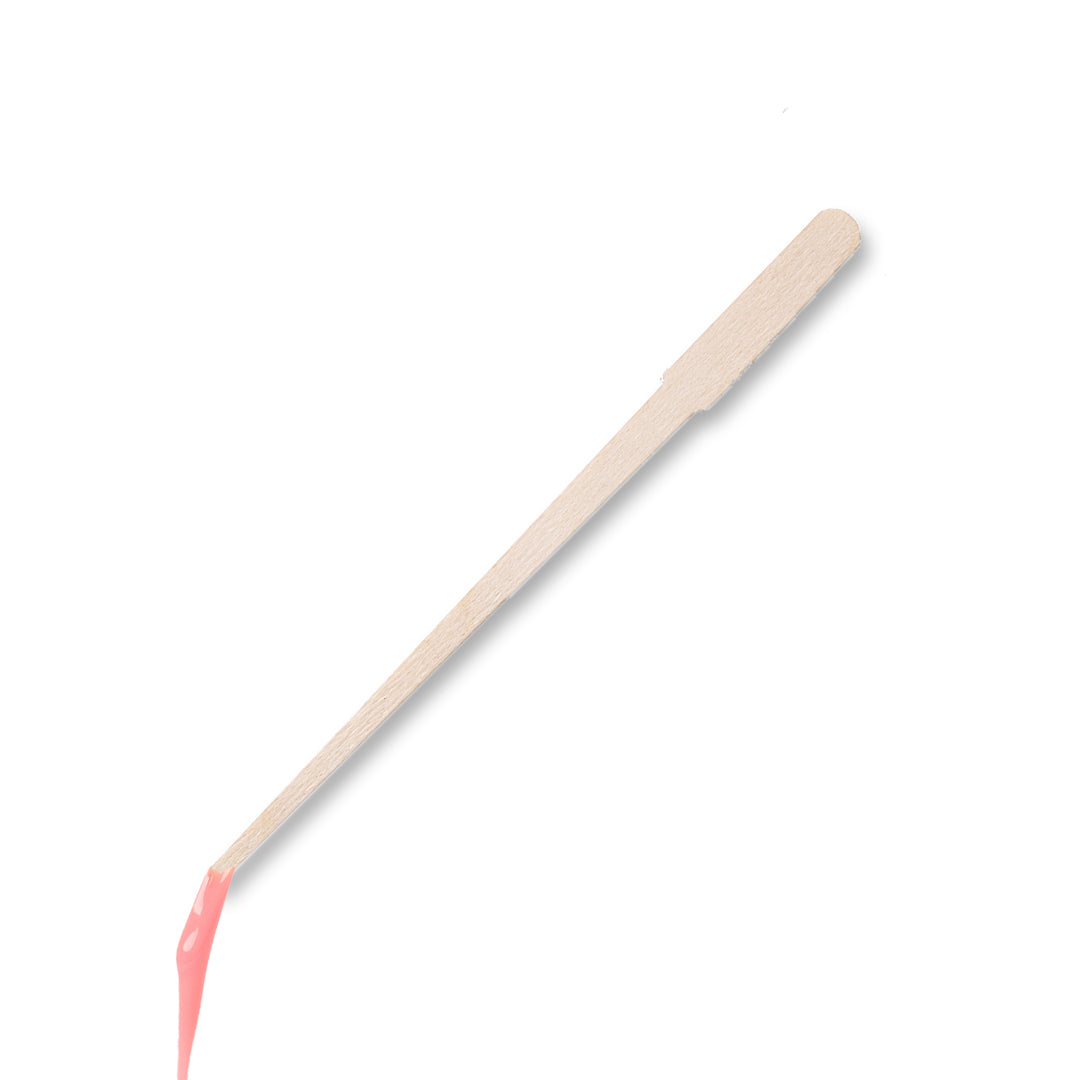
Apply the wax: Using a spatula or applicator, apply a thin, even layer of wax in the direction of hair growth, covering the desired area. Be careful not to apply too much wax, as this can make it difficult for the strip to adhere properly.
Place the strip: Immediately after applying the wax, place a waxing strip over the waxed area, ensuring it adheres firmly to the wax. Smooth it down in the direction of hair growth to help the strip adhere to the wax and hair.
Strip removal: Hold the skin taut with one hand and with the other hand, grasp the end of the waxing strip that is not attached to the skin. In one swift motion, quickly pull the strip against the direction of hair growth, keeping it parallel to the skin. To minimize discomfort, the strip should be pulled close to the skin and in a quick, fluid motion. Avoid pulling the strip upwards or away from the skin, as this can be less effective and more painful.
Repeat the process: If necessary, reapply wax to the same area and repeat the steps until the desired hair removal is achieved. Be sure to apply new wax to a clean section of the strip before reusing it.
Soothe the skin: Clean the skin and remove any excess wax. Apply GladGirl After-Wax Treatment to soothe and hydrate the skin.
Warning:
| Material | Wood |
|---|---|
| Pack Quantity | 10 |
| Size | 4.5 inches x .25 inches |


